Photoshop Backgrounds, Patterns, Textures & Tutorials
Our Newsletter
Would you like to receive special offers, tips and occasional free samples?
Sign Up Here


Shadows in Perspective |
|
|
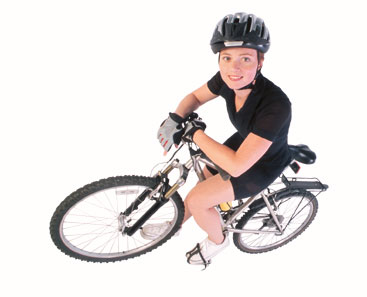
By Rick Wetzel Too often the beginning Photoshop user relies on Drop Shadow to create a little drama and realism. In this tutorial, we will consider the light source and place a shadow in perspective. I started with these two images. |
|
|
|
 |
|
image courtesy AbelStock.com
|
Image - Patterns & Textures from Portugal |
 |
STEP 1 I wanted to combine these two photographs and create a convincing graphic effect. The stock image from AbleStock came with a mask which allowed me to quickly knock out the white background . If you make your own mask, be sure to save the path...you'll need it later. I placed each image on their own layer. After scaling each image (Edit>Transform>Scale), I distorted the cobblestone photo and put it into perspective (Edit>Transform>Perspective). |
 |
STEP 2 Create a new top layer. Reselect the knock out path and fill with black. |
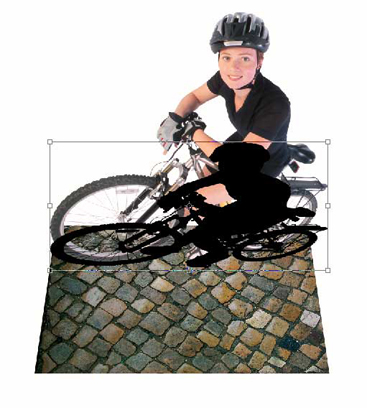 |
STEP 3 With the transform command. edit>transform>scale, select the middle handle and drag the selection box down. We want to compress the shadow to simulate overhead light.. |
 |
Drag the shadow layer behind the cyclist layer and above the cobblestone street layer. Use a 2 pixel Gaussian Blur and dial down the opacity to about 30. |
 |
STEP 5 To complete the tutorial, I created a new background layer and filled tan. |